Outside Setup
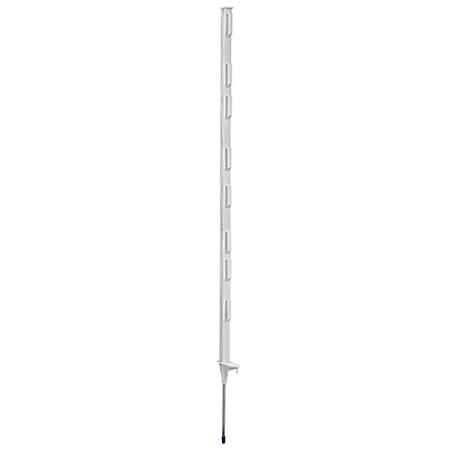
Take note of the wind direction. Always launch into the wind. A short piece of yarn, string, or ribbon tied to the launch pole will help you determine wind direction. A plastic or metal fence post like those shown in Fig. 1 will make a good launch post. These can be found at most hardware/home improvement stores. We prefer the 4 ft. plastic post because the metal spike on the end makes it easy to insert into the ground.
CAUTION: The metal spike in the end of the plastic post can be dangerous if used improperly. An adult should be present at all times to prevent any unsafe use by children.
Locate your launch pole in the ground. In locating the pole, keep in mind that when properly adjusted, your plane will fly a short distance into the wind and then turn and glide in the opposite direction. Take the loop in one end of the bungee cord and slip it over the top of the post.
First Launch
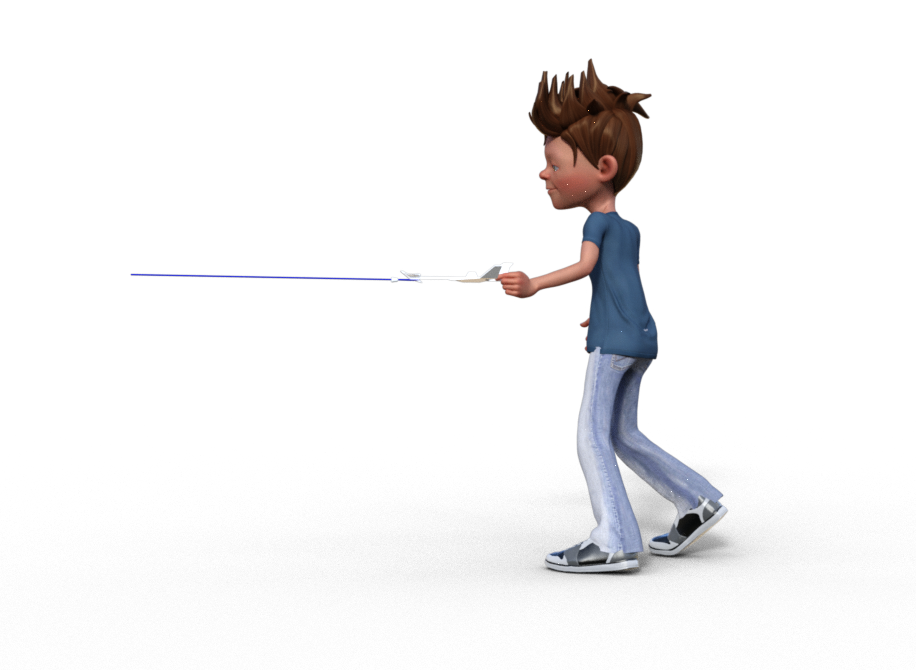
Attach the loop at the other end of the bungee cord to the launch hook under the nose of the plane body (See Fig 2) While holding the plane by the tail, step back until you feel a slight amount of tension- approximately 15 ft. from the launch pole (This is what we call a “baby pull” ) to see if the plane flies straight ahead
Release the plane and notice the direction of flight. If it veers to the left and strikes the ground, then bend the left wing tip down a little bit and try it again. If it veers to the right, then bend the right wing tip down and try it again. Continue this process of launching and adjusting the wing tips until the plane flies straight ahead. Once this is accomplished, you are ready for a full power launch.
Full Power Launch
Now you may pull back on the plane until you feel like the bungee cord is fully stretched, 18 – 20 ft. If you are using the plastic launch post, you will notice the top of the post begin to bend.
Launch and observe the flight of your plane. You will now begin adjusting the canard until you reach the point where the plane reaches the top of the first loop and then flips or rotates upright and glides (See Fig. 5). You will do this by turning the adjustment bolt on the canard CW. Turn it one complete rotation and then launch the plane again. You may see the plane do a full loop and then stall as shown in Fig. 4. This is another indication you need to adjust the canard upward. Keep adjusting and launching until you reach that optimum point where the plane just gets to the top of a loop and is upside down, then suddenly flips or rotates right side up and begins to glide (Fig. 5).
Warning – if you should happen to adjust the canard to far up, then the plane could hit the pole when you launch it.
Don’t hurt other people by being stupid.
- Don’t point the Cruzer at other people.
- Don’t add anything to the plane.
- Make sure everyone stands back when the Cruzer is launched.
- Yell “CRUZER!” in a loud voice just before you launch to let others know that you’re launching the Cruzer.


